Innovative reporting and patch compliance solution for ConfigMgr
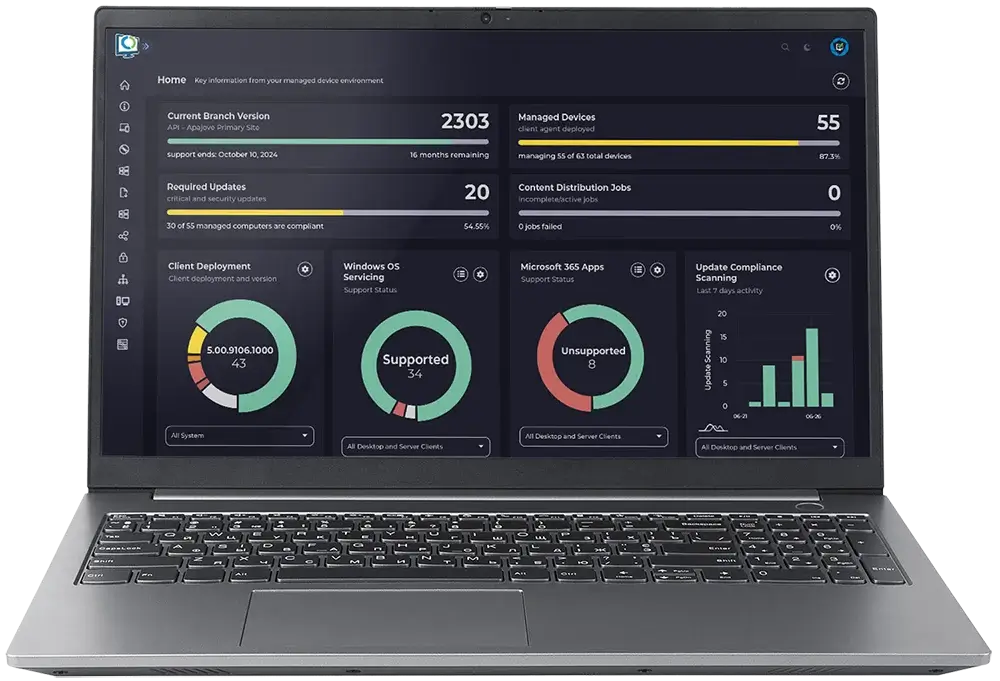
Navigate the depths of your data with drillthrough dashboards
Beautiful data.
Streamlined reporting.
Trust Advanced Insights to transform complex data into rich, high-quality visuals that can be interrogated easily. Advanced Insights provides a high-level overview with layer upon layer of drilldown depth and functionality.
Actionable insights that can be continually filtered and exported
One intuitive UI that anyone can use
Wakeup, restart, remote control and other console actions – all from the portal
Drill down to detailed inventory, compliance, warranty and health data
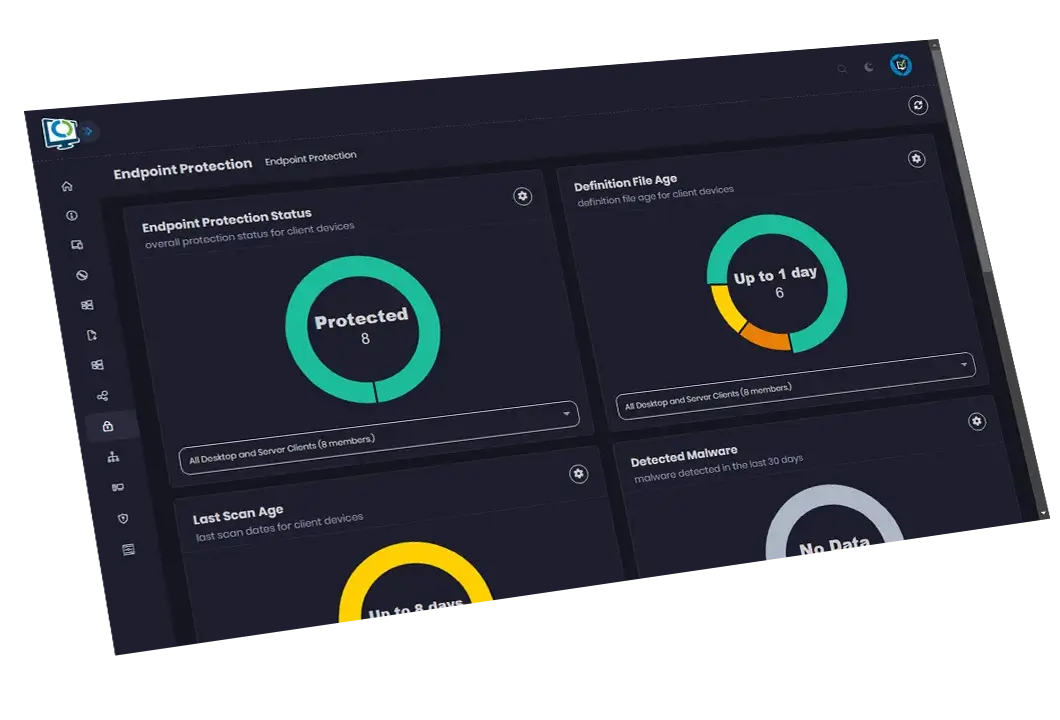
Dashboards for devices, users, apps, Office, updates, OS Deployment, BitLocker, Endpoint Protection, and more
Instant results to maximize your productivity
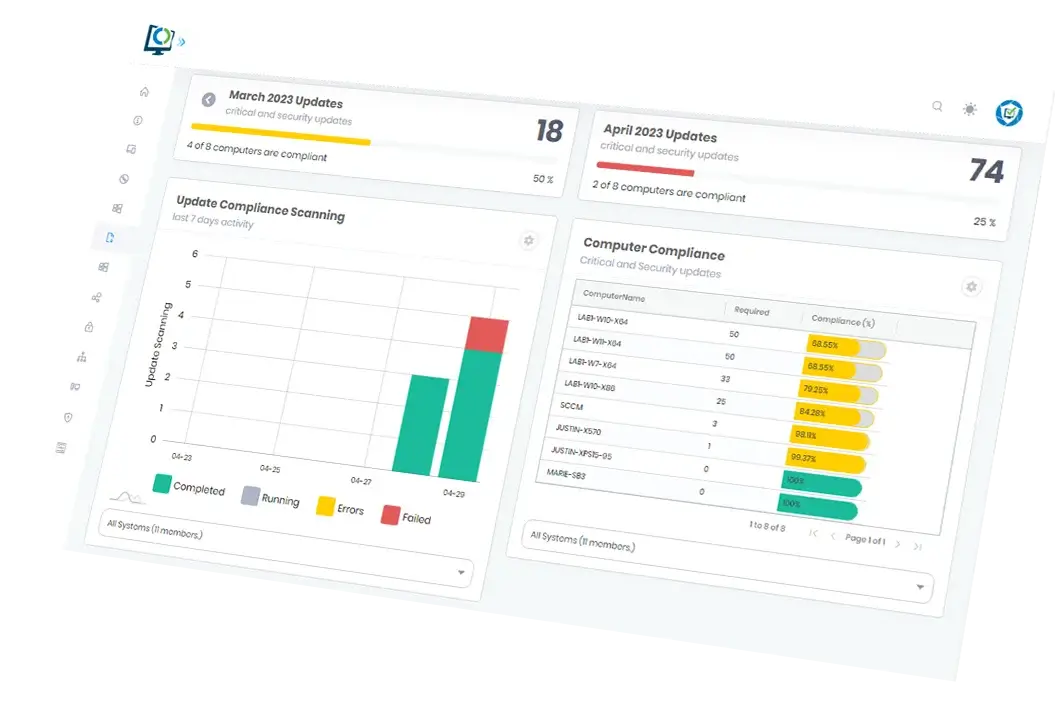
Streamlined software update compliance reporting
Immediately understand your compliance status against the latest updates at a glance. Through a single window, Advanced Insights offers a clear software compliance update overview and quick-to-read progress stats. It’s a quick-scan, visual representation of your entire software update landscape, and easy for even the non-technical user.
A single source of truth across all areas
Endpoint compliance summary and detail through a single window
Streamline Patch Tuesday
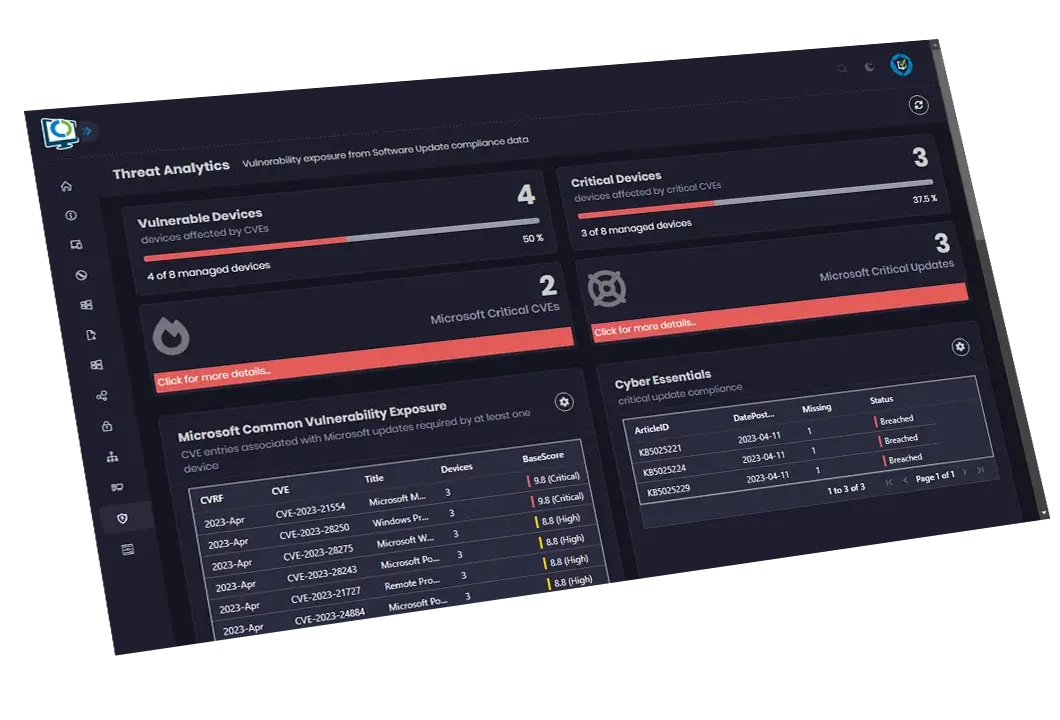
Threat analytics dashboard
Advanced Insights combines data from your Microsoft and Patch My PC update catalogs to present security posture detail for all update-related risks. Using Advanced Insights, you can help create a CVE report for device Vulnerability.
Identify the most important update-related risks
Quickly and easily view appropriate remediations for all update CVEs
Track Cyber-Essentials compliance
Data from Microsoft Security Research Center, NIST, and RedHat
One global search function
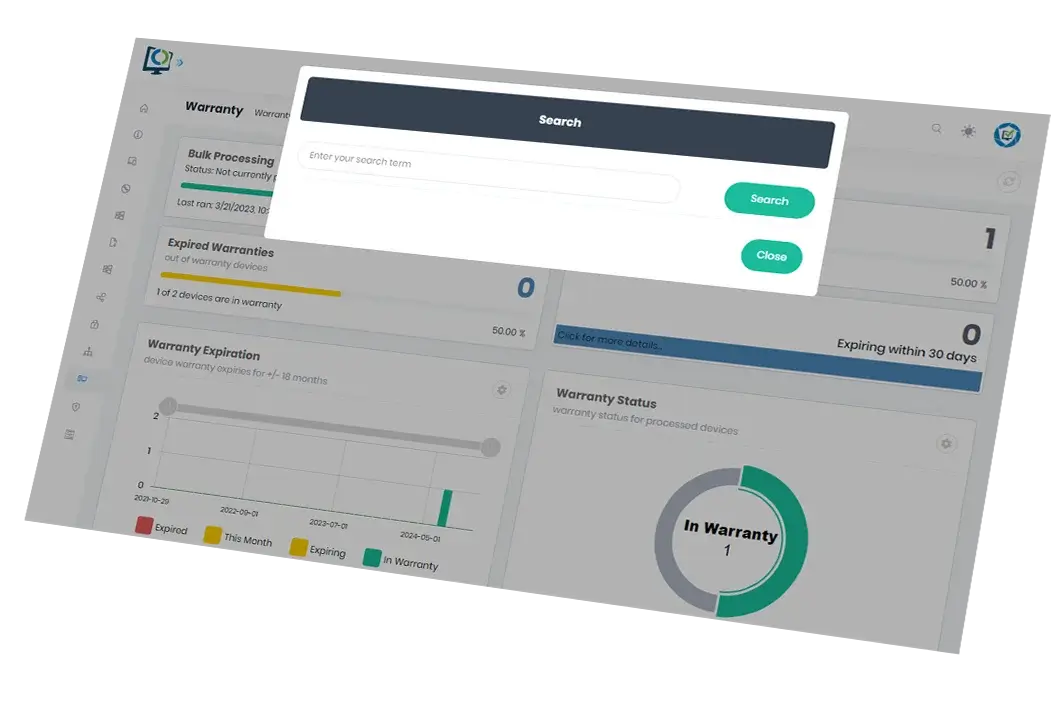
Search across ConfigMgr instantly. Remove search headaches by simply inputting a person’s name, an update article name, IP address, software update, or computer name to get the results you need.
Get results from any part of your dataset with minimal upfront information or input
Minimize time spent collating information by using one search function
Easily search all inventory, compliance, and status data in ConfigMgr with a single term
Faster, more accurate results than searching within ConfigMgr natively
A helping hand for the helpdesk
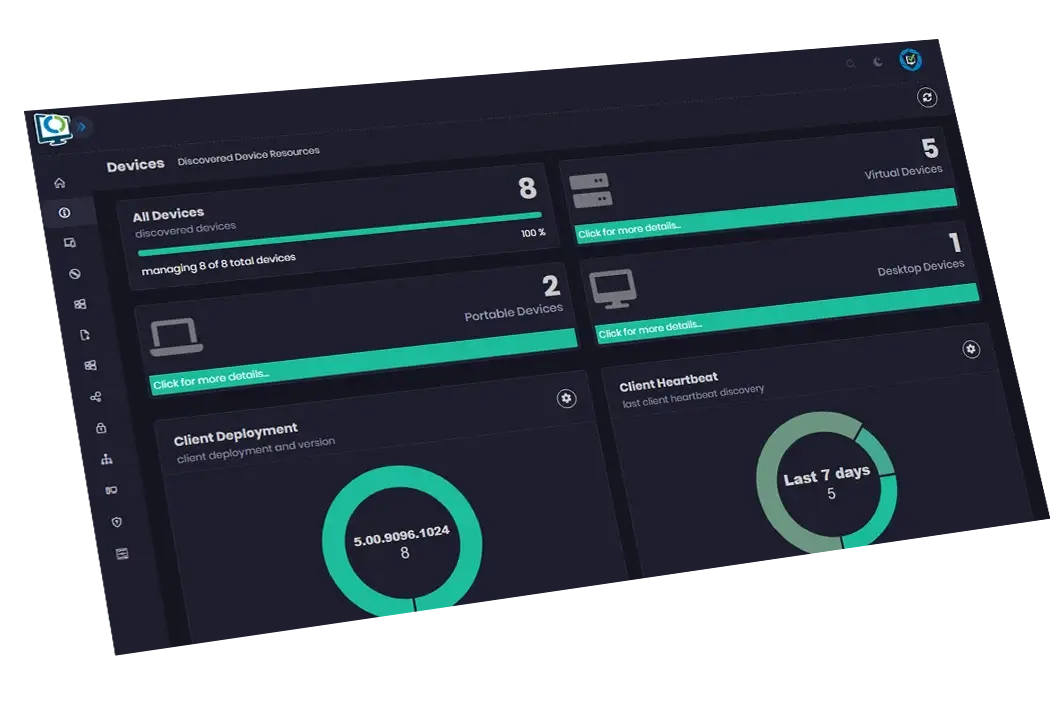
Extend ConfigMgr’s powerful capabilities to the helpdesk. Through one easy-to-use portal, Advanced Insights empowers your team leaders and helpdesk analysts to find, interrogate and act on incidents raised by your users working with ConfigMgr’s rich dataset and Advanced Insights’ responsive interface.
One friendly portal for helpdesk analysts to access the dense, valuable data on any user’s devices, applications, available RAM, required updates, and more
Empower analysts to instantly take action on any information found in ConfigMgr with the tools built into Advanced Insights
Usable information and tools directly at the helpdesk’s fingertips
Improve the output and usability of ConfigMgr for your support teams
Discover better insights on your data
Download the Advanced Insights Datasheet
Gain insight into your security
Actionable Insights
Dive deep into your security landscape with Advanced Insights reporting, extracting invaluable insights to fortify your defenses and proactively address vulnerabilities.
Risk Radar
Harness the power of Advanced Insights reporting as your security radar, illuminating potential risks and vulnerabilities, enabling you to make informed decisions and safeguard your systems.
True patch compliance
Compliance Perfected
Achieve impeccable patch compliance with Advanced Insights, providing a comprehensive view of your patching status.
Insights Amplified
Harnessing the platform’s capabilities to gain a competitive advantage in managing updates and securing your IT environment.
Book a Demo!
Schedule a Live Demo with an engineer and witness the transformation of complex configuration manager data into rich, high-quality visuals yourself.
FAQ
Placeholder
Placeholder FAQ
Is Advanced Insights for both ConfigMgr and Intune?
Advanced Insights is available for ConfigMgr only for now. Implementation of Intune reporting is currently on our roadmap.
What is Advanced Insights?
Advances Insights is a dashboard portal for reporting on a ConfigMgr data set. It pulls data from the entire ConfigMgr landscape. This reporting focuses on software update compliance reporting and inventory status configuration.
Is Advanced Insights available with all Patch My PC subscriptions levels?
Advanced Insights is available for Enterprise Premium subscriptions. We do have Patch Insights for Enterprise plus subscriptions. Patch Insights will give you in depth reporting about patching compliance in your environment.
Placeholder
Placeholder FAQ
Can I take action on the data in the reports?
Yes, everything in the portal is clickable for more data, and we surface right-click actions (policy, scan, etc.) as well as restart, ConfigMgr remote control actions from the portal.
Does Advanced Insights have role-based functionality?
Yes
Can I export the data to Excel?
Yes, you are able to export a variety of datasets to Excel.
ConfigMgr & Intune Solutions
ConfigMgr Solutions
Solutions for Home Users
Product Resources
Partners, Resellers & MSPs
Enterprise Support
Setup & Review Guidance
Home User Support